For months (ever since moving to my apartment in Frankfurt) I didn’t have a proper writing/computer desk. And the reason is simple – I do not like almost any desks available at the market because of various reasons, that usually come down to a lot of design and/or material compromises, and if I find some, that is usable, the price reaches the sky.
Therefore the decision to build a desk of my own.
There are a few thing I expect from my table:
- No glass at the edge where your arms touch the desk.
- Stability.
- Must not limit placing a desktop computer (if ever I am going to buy one here).
- Deep enough to allow placing a computer monitor and computer peripherals to work comfortably.
- Enough space to write using good old fashioned ink pen.
- Last but not least – design.
I’d probably came up with more, but those are the things that I consider important.
Even though I put design as the last item in the list, it was my love for industrial design, that set a cornerstone. The desk was to be made using euro-pallet.
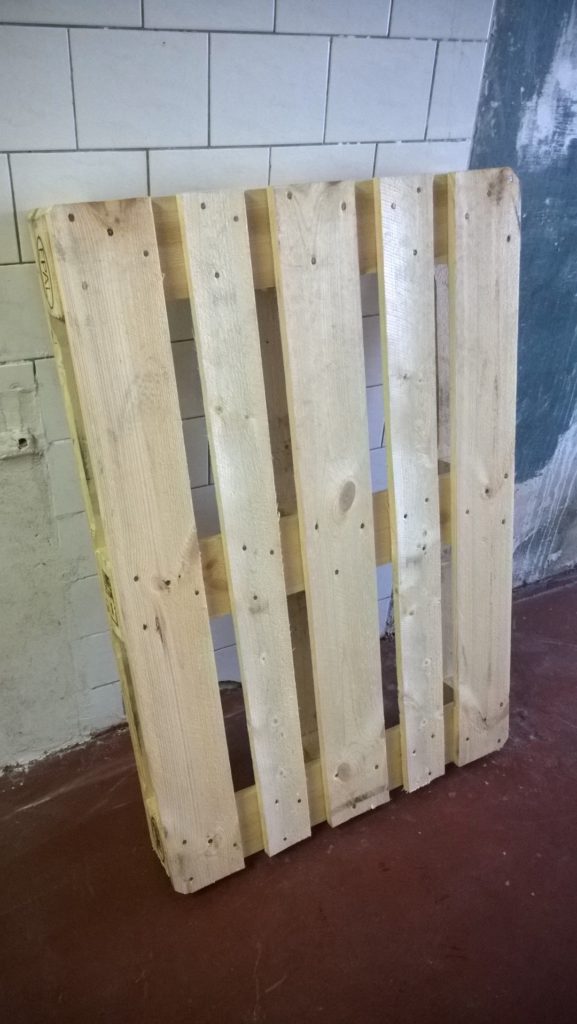
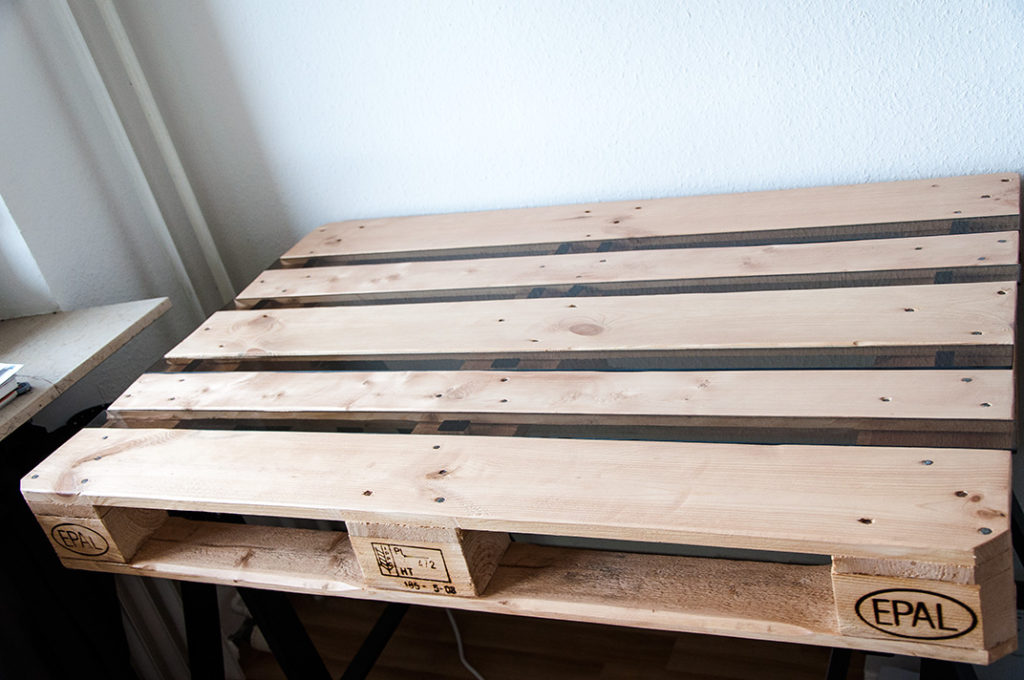
Euro-pallet is wide and deep enough for a working space (120 x 80 cm), it weighs about 20 kg and the wood is very hard. Also a new one costs less than € 15. I bought mine, a lightly used one, for about € 9. There are some things you should pay attention to when buying a euro-pallet to build furniture from. See end of the article for tips.
The space between the planks don’t exactly allow for the best writing experience, nor proper mouse movements. You need to fill them somehow. Wood can of course be first option, but I consider that dull and boring. I had a four stripes of brown glass cut to dimensions 80 x 4 cm, which are approximately dimensions of the spaces between the planks. Approximately is a very important word here – even though there is strict specification on how to produce euro-pallets, I am yet to see one made that sticks to it exactly. The width of spaces varies – in my case it was from 3 to 4,5 cm.
Fortunately, that is easy to work with. It is only a wood. Whatever pallet you buy; you need to grind the surface down to smoothen it. While doing that you can widen the space where needed. I’ve been grinding the euro-pallet thrice, each time with sandpaper of different coarseness. A smell of sawdust from new euro-pallets is intoxicating – you can smell the trees. But do not forget to wear weil and protective glasses (I hadn’t and had spent an hour coughing after that).
After that you can dye the wood according to personal preference, but what you certainly should do is to apply a varnish or a way to protect the wood from elements – spilled water/coffee etc. Check your local DIY store what they can offer.
When I was done with that, I could finally put in the glass stripes.
Now we are coming to another part of the table – legs, resp. supporting construction.
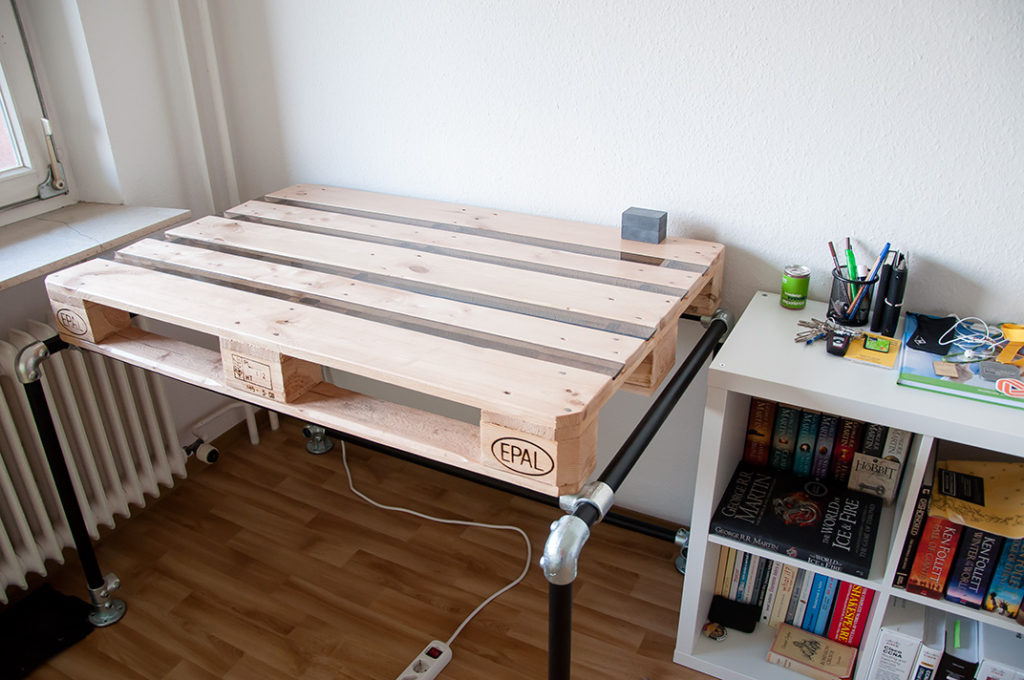
I considered various options how to support the euro-pallet, differing in materials (wood vs. metal) and ways to connect it with the pallet. In the end I decided to build a construction out of iron pipes and lay the pallet on top of it.
Considering the weight and future usage I chose iron pipes with outer diameter 33,7 mm. To the pipes I selected handrail fittings from Interclamp (size range B34 which corresponds to the pipes diameter). In the end the fittings easily become the most expensive item on tha whole table (partly because I got the pipes for free).
As the pipes were a bit rusty (as you can see on the pictures), I had to clean them a bit. I wouldn’t have though that I wouldn’t be able to find a rust remover in a DIY stores. So I used kerosene, vinegar and a bit of good old brute force with wire brush. I didn’t apply any anti-corrosion solution afterwards, I used protection paint instead.
Putting the construction together after all of that is a piece of cake. The only thing you need is a hexagon key (and I’d also suggest some padding for the feet in order to avoid scratching the floor).
This reminds me – as feet I used wall fittings (type 131) instead of base fittings (type 132). My usage does not require the characteristics of the later, therefore I went for what is more pleasing to look at.
And now comes the promised part with tips on what to look for when buying euro-pallet for furniture.
- Age/previous usage. This one is not difficult to spot. The new euro-pallets are very light in colour and the wood still smells. Slightly used pallets, which are being offer as AA or A pallets by dealers, are slightly darker, may be dirty in places, but the stains do not go deep into the wood and can easily be removed by grinding machine. Slightly used pallets should have a very low number of chipped placed, if any. No mould is a must. The older the pallet is, or the more it was used, the colour changes to dark brown or even black. If old pallet has been repaired in the past, you’ll notice differently coloured. Mould may have also damaged the wood. I wouldn’t use B pallets to build anything for indoors, but they should be ok outdoor usage like garden or balcony seating.
- Nails are directly connected to the age of the euro-pallet. They have to be shiny in case of new ones while more and more of them will be rusty as the pallet ages. Some may be missing in Bs, on the other hand it should not be case with AAs or As.
- Very important thing to check is how the wood was treated to get rid of pests etc. Two methods are being used – chemical called “Methyl-bromide Fumigation” or “MB” – and “Heat Treatment”, also designated as “IPPC” or “HT”. The abbreviation can be found on the outside of the middle block. You surely don’t want to use anything with chemical indoors.
- If you plan to put glass between the planks, check the width of the space. The more the width varies, the more time it will take to even it up. Or alternatively you can have four pieces of glass cut to fit the exact dimensions of the spaces. This will almost certainly look better, however will surely be more expensive.
Lastly pictures before and after:


